RHCES Tools App Installation Guide
Installation Guide
Step 1: Download the Installer
Download the official RHCES Tools App installer from the provided website, download page, or purchase link.
Step 2: Locate the Downloaded File
After the download is complete, open your Downloads folder and find the installer file.
Step 3: Run the Installer
Double-click the installer file to begin the installation process.
Step 4: Allow Permission
If Windows shows a security or permission prompt, click Yes to allow the installer to make changes to your device.
Step 5: Follow the Setup Wizard
The installation wizard will appear. Click Next and follow the on-screen instructions.
Step 6: Choose Installation Location
Select your preferred installation folder, or keep the default location recommended by the installer.
Step 7: Complete the Installation
Click Install to start the installation. Wait until the process is completed, then click Finish.
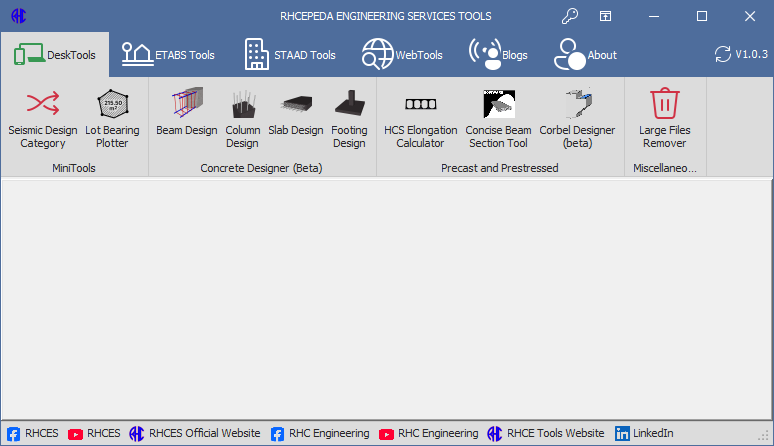
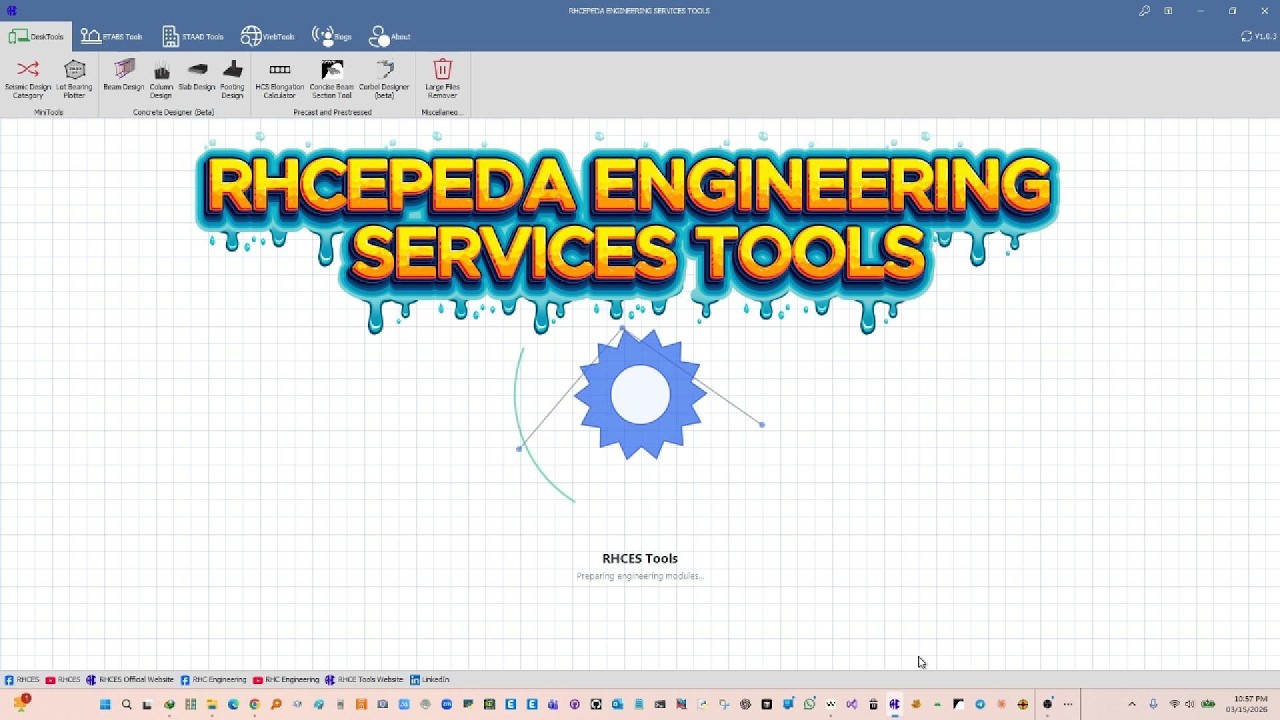
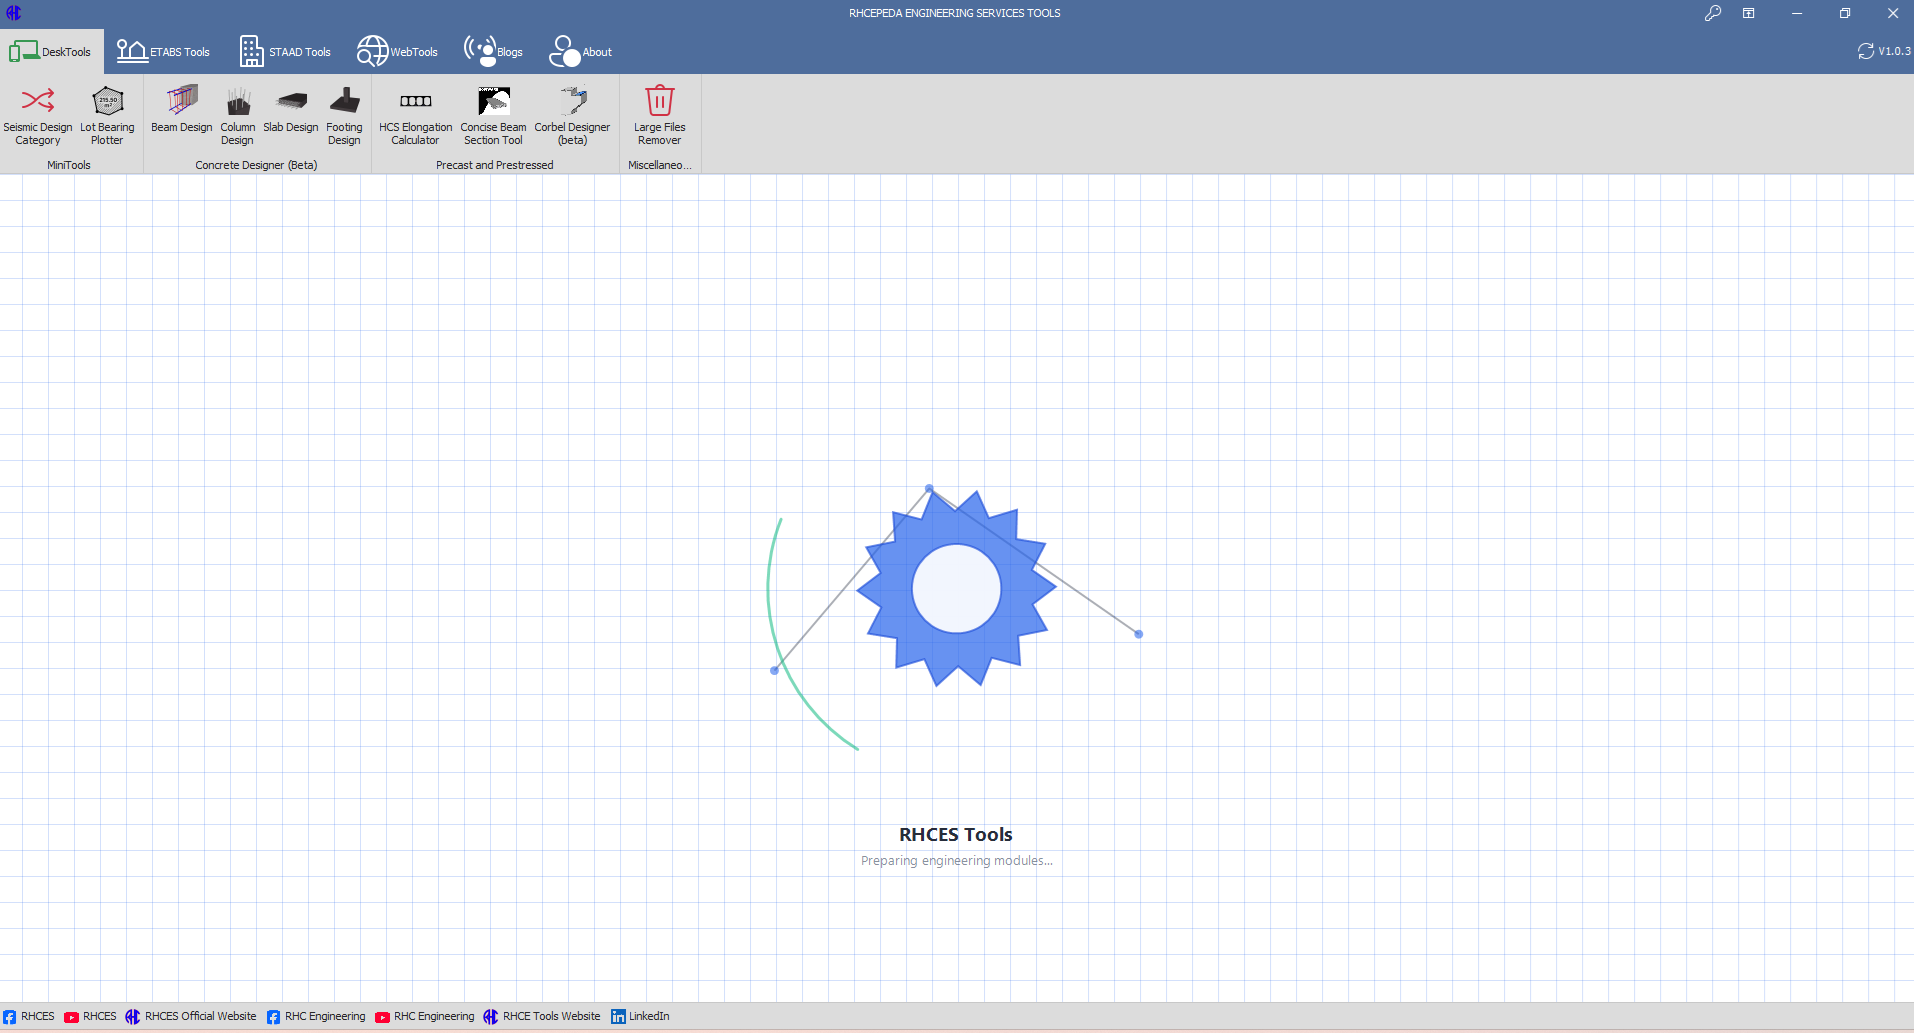
Step 8: Launch the Application
After installation, open RHCES Tools App from your desktop shortcut or Start menu.
Step 9: Activate or Log In if Required
If the app requires activation, license verification, or login, enter the required details to continue.
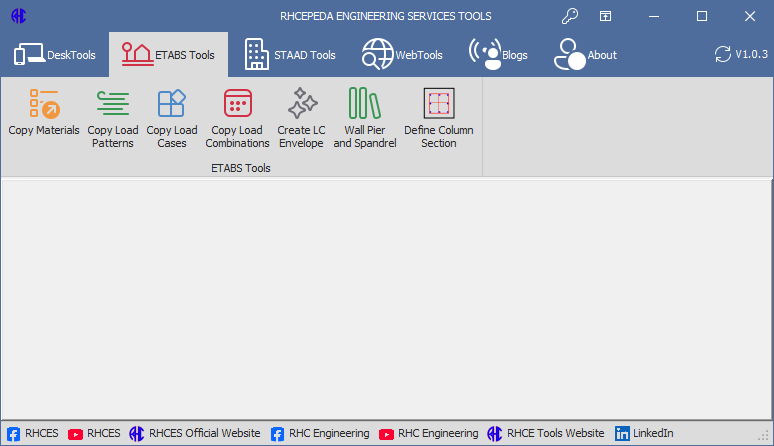
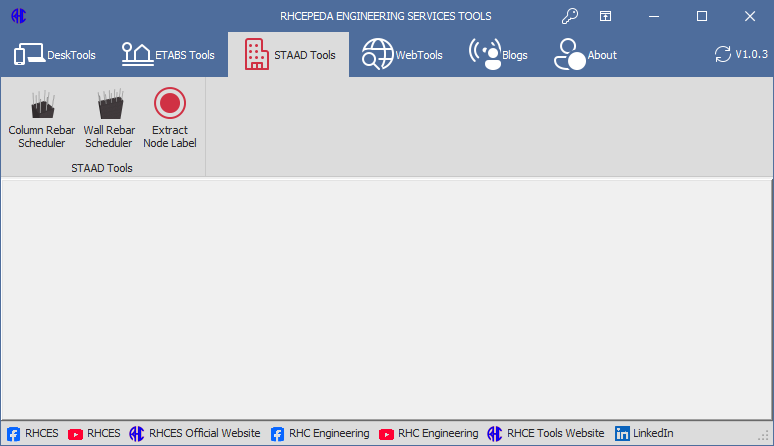
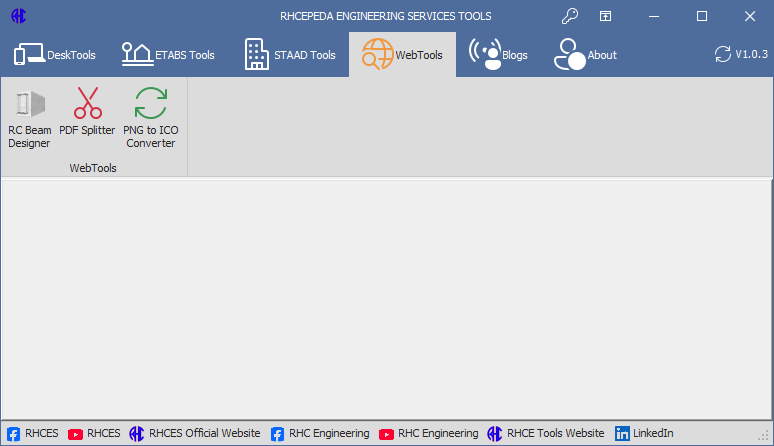
Step 10: Start Using the App
You can now use RHCES Tools App for your engineering calculations, design tools, and technical workflows.
Important Notes
- Make sure you download the installer only from the official source.
- It is recommended to close other applications before installation.
- Administrator permission may be required on some computers.
- If your antivirus or Windows SmartScreen shows a warning, verify that the installer is from the official developer before proceeding.
Simple Version
Download → Open Downloads folder → Run installer → Click Yes → Follow setup wizard → Install → Finish → Open RHCES Tools App