Installation Guide
Requirements
To use this code, you need:
- A Windows computer with SolidWorks installed
- An open and saved SolidWorks Part or Assembly document
- A C# macro/add-in/executor environment capable of running SolidWorks API code
- SolidWorks Interop references
- SolidWorks.Interop.sldworks
- SolidWorks.Interop.swconst
- .NET references/namespaces:
- System
- System.IO
- System.Text
- System.Diagnostics
- System.Windows.Forms
- System.Runtime.InteropServices
- Microsoft.VisualBasic
Preparing the File
- Save the code as a .cs file.
Example:
ExportAllConfigurations.cs
- Add the file to your C# macro/add-in/executor project.
- Add the SolidWorks Interop references:
SolidWorks.Interop.sldworks
SolidWorks.Interop.swconst
- Make sure System.Windows.Forms and System.Windows.Forms references are available.
- Compile the code or run it through your macro executor environment.
Important Note
This code is written in C#. The standard SolidWorks macro workflow is often based on the VBA editor or the Tools > Macro > Run command. Therefore, sharing the .cs file is enough for source-code distribution, but end users need a C# macro runner, an add-in structure, or a compiled tool to execute it.
Usage Guide
1. Open the SolidWorks Document
Open the Part or Assembly document you want to export in SolidWorks. The document must be saved before export. The document containing the configurations should be active in SolidWorks before running the macro.
2. Run the Macro
Start the macro using your C#-compatible execution environment.
If the code is integrated into an add-in or macro executor, run it using the related button or command.
3. Select the Export Folder
The macro first asks you to select the output folder.
Inside the selected folder, the macro automatically creates these subfolders:
STEP
STL
4. Enter Filename Prefix
The macro asks for an optional filename prefix.
Example:
CUSTOMER_A
Resulting filename example:
CUSTOMER_A_ModelName_Default.step
You may leave this field empty.
5. Enter Filename Suffix
The macro asks for an optional filename suffix.
Example:
REV01
Resulting filename example:
CUSTOMER_A_ModelName_Default_REV01.step
You may leave this field empty.
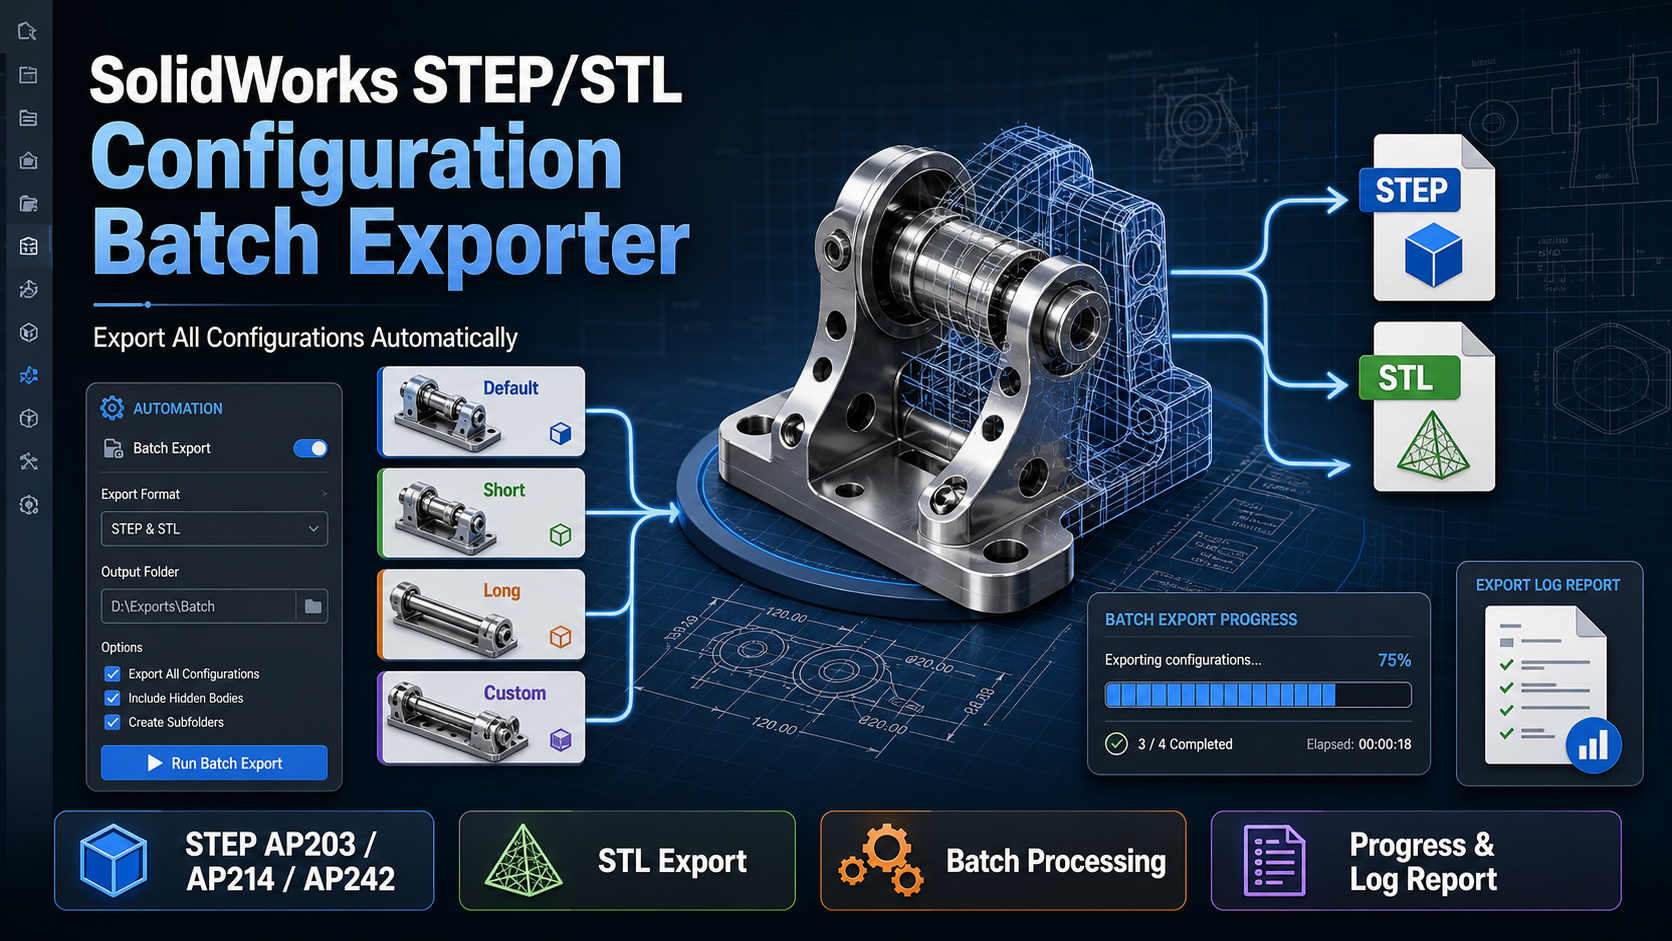
6. Select Export Mode
The macro asks you to select one of the following options:
1 = STEP only
2 = STL only
3 = STEP + STL
For part documents, all three options are available.
For assembly documents, STL export is disabled in this version. Assembly documents are exported as STEP only.
7. Select STEP Standard
If STEP export is selected, the macro asks for the STEP standard:
203 = AP203
214 = AP214
242 = AP242
Recommended default:214
8. Select Existing File Behavior
If a file with the same name already exists, the macro asks what to do:
1 = Overwrite existing file
2 = Skip existing file
3 = Rename new file automatically
Recommended option:
3 = Rename new file automatically
If this option is selected, new files are saved like this:
Model_Default_001.step
Model_Default_002.step
9. Track Export Progress
The macro displays a progress bar during the export process.
Example:
Exporting configuration 3 of 12: Long
10. Check the Final Summary
When the export is complete, an English summary report is displayed.
The report includes:
- Model name
- Total number of configurations
- Number of exported STEP files
- Number of exported STL files
- Number of skipped files
- Number of failed files
- STEP standard
- Elapsed time
- Export folder path
- Log file path
- CSV summary file path
11. Open the Export Folder
At the end of the process, the macro asks:
Do you want to open the export folder?
If you select Yes, the export folder opens in Windows Explorer.